Take your Photography to the next level with our Online and In Person Photo Editing courses
Gem will teach you exactly what you need to know about Photoshop to edit your photos to a professional standard.
Photoshop works alongside Lightroom Classic (which I would recommend learning before delving into Photoshop). Stop learning by trial and error – Save time and money and book a three hour session with Gem. A recent student told Gem that he had learned more in 3 hours than he had in 15 years of using Adobe’s editing software!
With our eye-opening lessons, you will learn to confidently improve your photos with little stress. All sessions come with worksheets and/or video tutorials or screen recordings of what we cover in your session so you can refer back to them when necessary.
We will delve into:
* Using layers, adjustment layers, layer masks and pixel based layers.
* Using layers with different blending modes
* A look at the different tools available in photoshop
* Warping images using liquify
* Cropping and aspect ratios
* Edit blotchy skin and desaturating red skin tones
* Skin Retouching
* Smoothing hair with the Clone Stamp
* Removing distractions using the patch tool and content aware, (good for studio background expansion & background distractions)
* Resizing your images
* Making global and local adjustments to your images
The cost varies between £75 and £169 plus fuel depending on if you are learning online. in a group or face to face as a 1-2-1.
If learning face to face you can bring along a friend for one of your sessions half price.
Gem runs beginners Photography evening courses at Teignmouth Pavilions throughout the year. With follow up improvers sessions running regularly too. All Photography workshop dates and session bookings are taken by the Pavilions, find out more info and sign up at The Pavilions Website by clicking here.
Here are a few shots from our first ever improvers session:
When you first decide to take your camera out of Auto mode, the world becomes a scary place, so many values, fractions and ‘F’ numbers to get your head around. Balancing exposure becomes a problem that you have never knew you had before.
So why bother, right? Well, switching out of Auto mode is the first step to full creativity with your image making, You can learn to create light trails, to freeze fast motion in your images, to show movement in photos and how to take abstract images that look like painting. Learning how to control the camera settings opens a world of possibilities and allows you to take images that many people just don’t know how to take.
Here are some example photos that you just can’t take in automatic mode:
Long Exposures
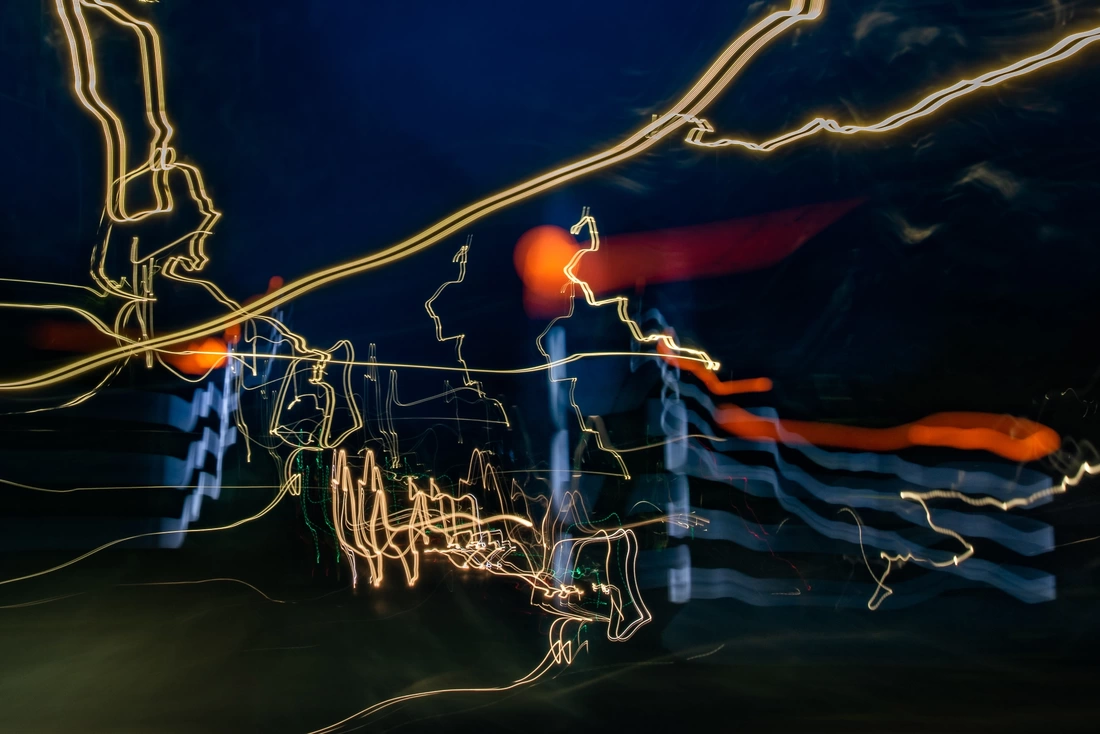
Long exposures are created when you use slow shutter speeds. Learning what the shutter is, what it does and how to use it is the first step in understanding this shooting technique. This photo was taken with a 15 second exposure time. We teach all students about this setting in our recommended first Photography tuition session ‘How to use your camera and the basic principles of Photography’ This is one of our favourite ways to create interesting abstract images.
These types of photos are hard to take in the daytime without the help of an ND filter (a filter that blocks light from coming into your lens) but you can take these types of shots in the golden hour, when the sun is going down, assuming you don’t shoot straight into the sun. You can also take them as the sun is coming up as there won’t be too much light around to flood into your camera. Knowing how to balance your three main camera settings in crucial to getting this effect in camera.
One of the perks of this type of Photography is that you always get a good quality image – because of how the settings balance. That means beautifully clear elements within your photo. Which we think is pretty cool.
So why can’t I take long exposures in Auto mode? I hear you ask, because your camera is always trying to take your photo as quickly as it can in your given scene, it prioritises getting the correct exposure quickly, fast enough for you to hand hold your camera without getting camera shake or movement blur. The auto mode assumes you are trying to freeze the movement of your subject – therefore capturing the moment as you see it.
Super Detailed Landscapes
Did you know that a lot of landscape photographers take more than one image to create their landscape shots?
They use a technique called exposure bracketing. The reason for this is that most cameras can only record one light level at a time, which is great if your scene is flatly lit with not many shadows or highlights, but a lot of the best landscapes have a big contrast between light and shadow, and are hard to capture in just one photo.
This technique, known as bracketing allows you to take a range of exposures, from really dark, to a little dark, to correct exposure, then slightly too bright, then really bright, all of the same scene. You need to use a tripod to keep the camera still and to get the same framing for each shot, and there are particular camera settings to use for the best results. But essentially, once you have all of your exposures, you can merge them together in Lightroom Classic to create one image with lots of detail in the highlights, shadows and mid tones. A pretty cool process, we think.
Professional Looking Interior Photos
You can also use the above bracketing technique for interior photos. This is for when you want to get the detail in the bright areas outside and the dark areas inside the building. For rooms with big windows and gorgeous views.
This is a technique we teach estate agents and property photographers to do as part of our workshops. Ping us an email if you want more detail about this.
Prioritising Image Quality
The image quality is determined by one of the camera’s main settings and you can control this when adjusting the balance of settings for certain scenes. When you use a tripod your camera doesn’t know it’s on a tripod and therefore will still balance your settings as if you are hand holding, taking the photo quickly to the detriment of the image quality – especially in low light.
When you take control of your settings, and especially when you are using a tripod or have a lot of light to work with, you can use the best quality setting so your photos are sharp, distortion free and beautifully detailed.
Pop Up Flash
Isn’t it annoying when you’re trying to be subtle about taking a photo and then the annoying flash pops up? This happens in auto mode when your subject is backlit or when there isn’t much light, not ideal if you’re shooting where you’re not supposed to be, I’m talking art galleries or museums for reference photos, I dunno what you’re thinking…
Anyhoo, when you shoot in semi automatic modes like shutter priority, aperture priority or manual mode, the flash only comes on when you tell it too. No more annoying flash popping up and exposing your poor ninja skills.
Exposure Compensation
Your camera records light, and when it comes to exposure (the brightness value in your photo) the camera is designed to record the light level of your scene by providing an average reading across the highlights, shadows and midtones. The camera is designed to make your most common light level in the scene a midtone, which can be problematic shooting in the snow or against a dark background, for example;
When your camera view finder is filled with a field covered in snow, the camera records the light bouncing off the snow as a midtone, darkening the overall image, it is designed to do this so that, in theory, your highlights and shadows fall either side of the midtones. When in auto mode there is nothing you can do about this, but if you shift to shutter priority, aperture priority or manual mode you can rebalance your settings to brighten the exposure to make the snow look white again. This is what is known as exposure compensation.
The same sort of thing happens when you fill the view finder with a predominantly dark object, like a black dog or wall of tyres. Your camera records the mass of dark tones as a midtone, making it a lighter grey exposure. You can adjust for this in the semi automatic modes; shutter and aperture priority or manual mode. You cannot make exposure adjustments in automatic mode.
To learn more about your camera and the basic principles of Photography pop your details in our sign up form here.
A tripod is number one on my list of kit recommendations for my Photography students. When you learn to use your camera settings properly, you find out that in order to get the same framing and/or the best quality image for landscape, interior, architecture, still life and seascapes, you will need to keep the camera still. This allows you to take the photo slower which in turn gives you better image quality, or, more in focus in your shot.
For scenes with a big contrast in lighting, (landscapes and interiors) you would be best bracketing to gain a high dynamic range (details in the brightest highlights through to the darkest shadows.) Bracketing means taking more than one photo of the same scene with a range of exposures. This allows you to then merge those shots on the computer (some cameras do this in camera too).
The merged shot will show detail in all the shadows and highlights of your image, gaining a shot with a much nicer exposure overall. Using a tripod in this circumstance means the images all line up and the photos wont show any movement blur or camera shake.
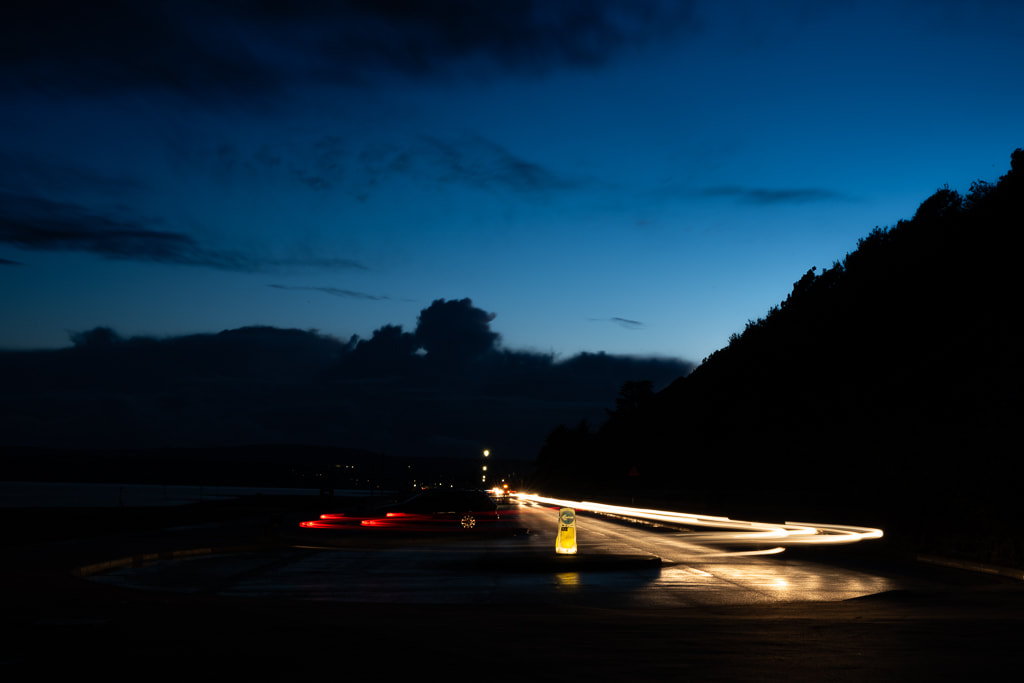
You can also be super creative with a tripod. You can take light trails and show movement in your images too.
Here are some example photos that can only be taken with your camera kept still (preferably on a tripod.)
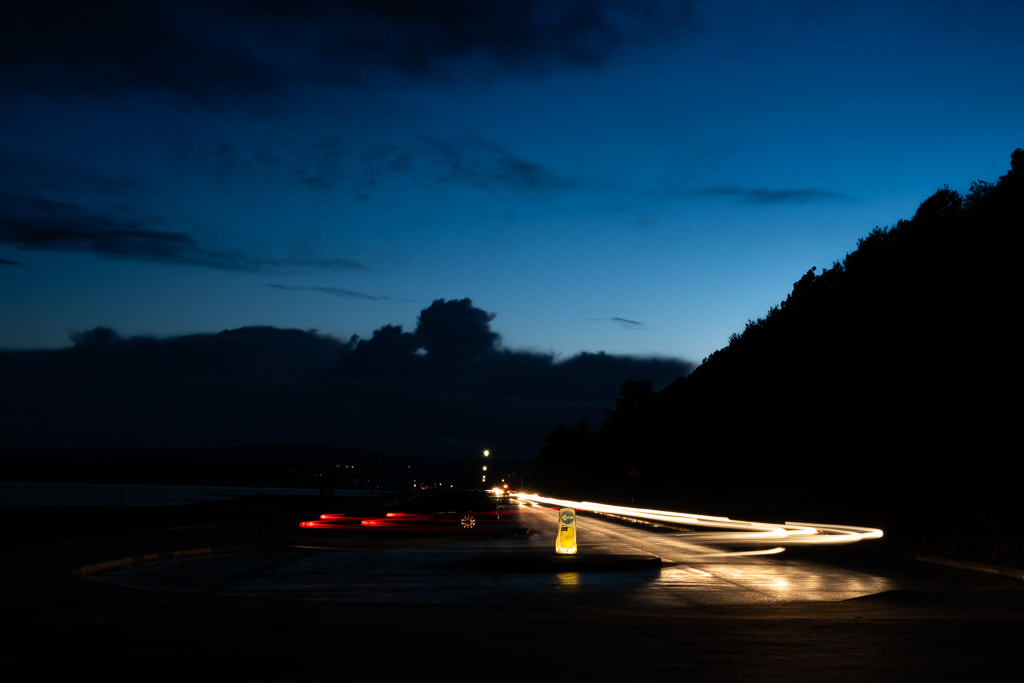
Light trails of car headlights taken with a long exposure time of 30 seconds.
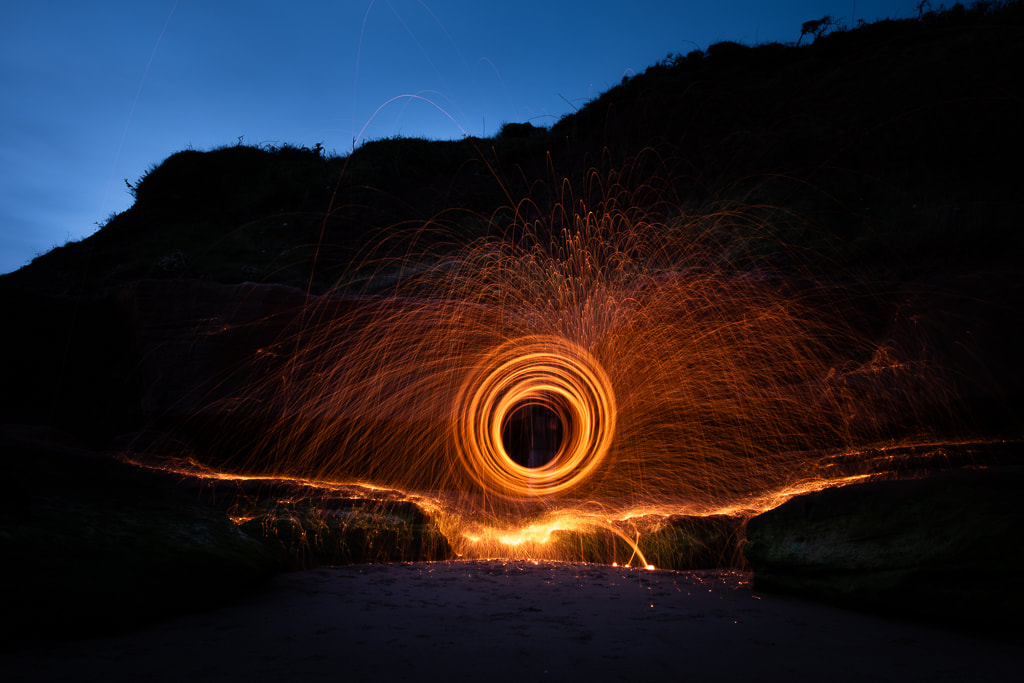
Wire wool long exposure – set fire to the wire wool and spin it round in a whisk attached to some string for this effect. (Making sure to tidy up after yourself afterwards)
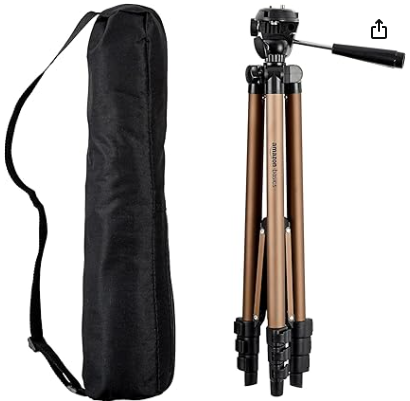
If you are on a tight budget and don’t mind a more fiddly tripod, that’s not the best quality, is a little bulky but will hold your camera still, you can look at an Amazon basic tripod. The down sides are the legs take longer to extend than my other suggestion, there is no quick release plate so taking the camera off and screwing it on is more time consuming and fiddle. You do get a carry bag and these tripods tend to last a long time if you look after them.
Finally there are less positions in which you can move the legs so your shooting position is a little limited when you want to take photos lower to the ground, or if you want to shoot facing downwards.
Overall this is a great tripod for beginners who are not sure if they would definitely use a tripod for their photography or for those on a smaller budget.
Click the picture to head to Amazon’s website via my associate link. This tripod is £17.47 at the time of writing this.
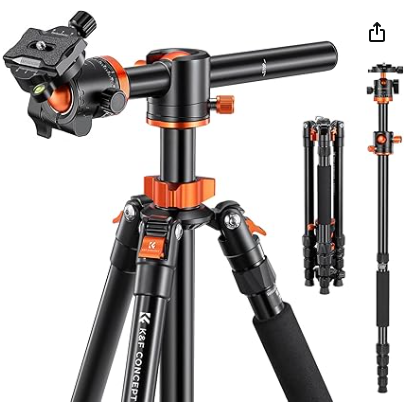
If you’re sold on the idea of a tripod and want one that is easy to setup, pack down and quick to attach to your camera, then I would suggest a K and F Concept Tripod. This next suggestion is the one I use. I occasionally use my tripod, in the studio and on location for day trips, seascapes and long exposures. I don’t go on big hikes to take landscapes, so if you are looking for something you can hike with, look at my next suggestions for a lightweight, smaller tripod.
The beauty of this tripod for me is that the legs are rubber screw rings, as opposed to levers, and when extending you can get them to the position where all it takes is a good hand placement and a half turn to loosen them enough to fully extend each segment with ease. Then, when you are done, and you have pushed the leg sections in, it’s just one half turn again with your whole hand covering the rubber screws to tighten them. Nice and quick! It also has a quick release plate which you can leave in the bottom of your camera and easily attach to the tripod with a
One of the legs completely unscrews and allows you to use it as a monopod which is helpful for steadying the camera a little but it won’t do the same job as a secure tripod.
There is also a material grip so if you’re carrying it in cold weather conditions you don’t have to hold the metal, saving your hands from getting uncomfortable.
The legs extend really wide to allow low down shooting positions and you can also shoot with the camera facing downwards, if needed. It’s got a really nice build quality, comes with a carry bag and has a ball joint to move the position of your camera, no more slightly leg adjustments to make the camera level.
This tripod is £114.99 at the time of writing this. Click the image below to follow my associates link to Amazon.
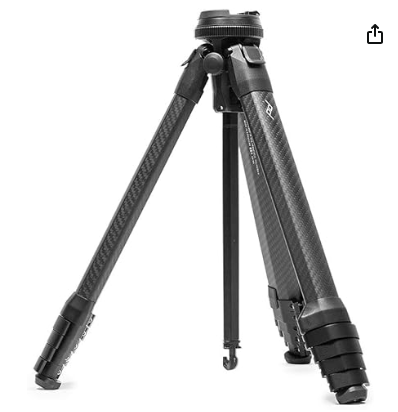
If you are a walker and are looking for the best, most compact, lightweight tripod and you have a big budget, this peak design tripod might be the one for you. It folds down to the same diameter as a drinks bottle, is made of carbon fibre and is beautifully designed.
The legs extend far and are flexible in it’s positioning for those low shots if you need them.
It holds an impressive 20lb worth of kit, designed for a camera and a telephoto lens.
It’s pretty pricey at £649 at the time of writing this, but the weight it saves when hiking might just be worth it for those of you who like adventuring.
Click the image to go through my associates link to Amazon.
I like to work with businesses and shoot with their brand and their mission statement in mind. As an example, if you’re providing beautiful products with a colour scheme then I will make sure that your colours are incorporated into the shoot. I have a good understanding of SEO practices and I ask for a set of your keywords in order to embed them into your images, this increases your visibility on the web and my specific resizing method will allow your images to load quickly on your website which customers expect when browsing. All images are provided for both printing and web use.
Your pre-shoot consultation will allow me to get a good idea about your company’s ethos, this is important because it will allow me to photograph you or your work in a way that is representative of your company.
Rates
My Commercial Photography rate is £89 per hour, this includes shooting time, image editing and the images, so if you hire me to shoot your event for 2 hours you would pay in total 2 x £89 a total of £178 and this would include the images fully edited and an image usage license.
My Professional Portrait Rate is £135 for your shoot (up to 1 hour) and 10 fully edited digital files sized for print and web or £235 for your shoot (up to 1 hour) and 20 fully edited digital files.
Image Usage License
All final images and a license to use the images for commercial purposes worldwide is included at no extra charge. The license does not have any limits on print size, timeframe for usage or format, however permission to resell images on in the form or a printed product or digitally is not included within the standard license.
You also do not have permission to edit the image contents except for cropping when advertising in different medias.
Please enquire if you need these restrictions lifted.
Delivery of Images
Images will be delivered digitally via Dropbox where you will have three months to download and back up to a safe place. You will also receive a USB stick with the images. I would recommend making a couple of backups on different machines.
Once the images have been delivered via dropbox you will be responsible for keeping them safe. After the 3 month period I will remove the images from dropbox.
Images will be provided in a JPEG format in 2 sizes and 2 folders, one folder named ‘print’ with high resolution images suitable for printing up to billboard size and the second folder named ‘web’ with low res images suitable for uploading to your website and social media. The web files come with your specific keywords embedded to improve your search engine rankings and they are also sized to allow your website to load quickly to improve your customers experience.
The Aesthetics of Photography session is a great way to learn how to improve your imagery without having to get too technical with camera settings. You can use any camera for this session, phone or DSLR. We will learn how to work with the following formal elements to improve the look of your images:
Light Direction and Quality
Perspective, Scale and Angle
Colour Balance
Compositional Techniques
Mood and Story Telling
Shadows and Contrast
Using Colour and Focus to Reinforce your Subject
This is a heavily practical session so make sure you wear comfortable shoes and appropriate clothing. We can either start in the studio or I can come to your home.
Studio based sessions are £139 Home visits are £169 additional fuel costs may be incurred if you are outside of Honiton.
All sessions include worksheets & homework tasks to support your learning and a range of memorable practical and theory based learning activities.
Continuing support is available via email or through our popular Facebook training group where we hold free weekly lives, competitions, share our work and socialise with other photography students.
Fill in the form below if you are interested in this session:
Enquire About The Aesthetics of Photography Course
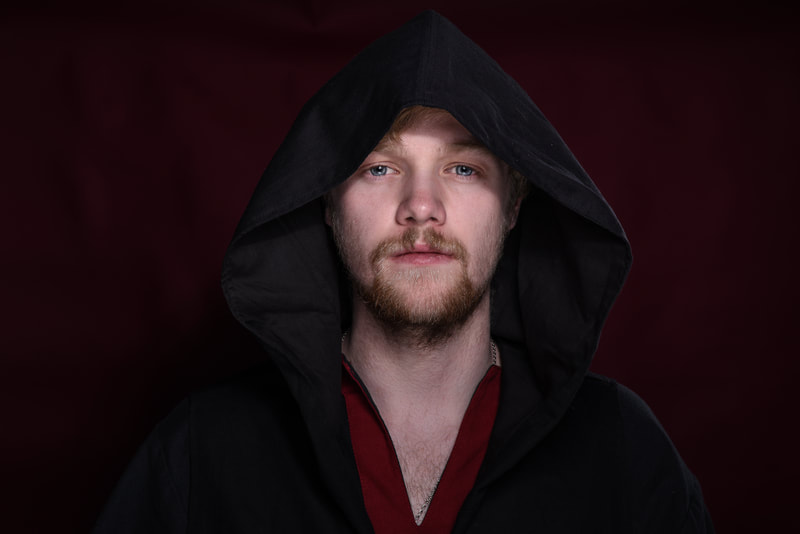
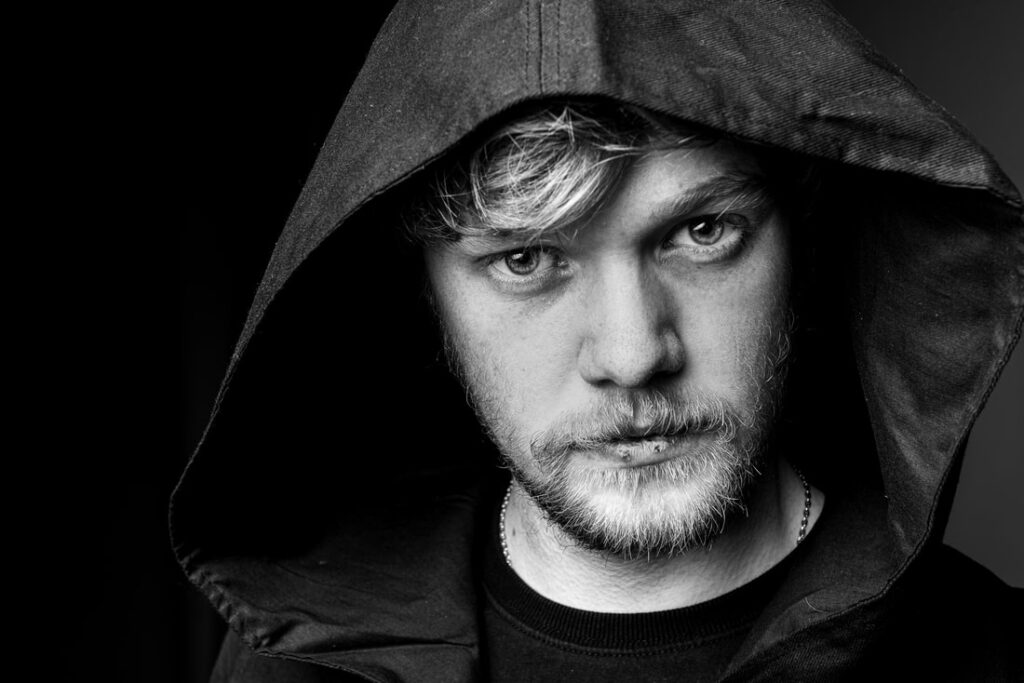
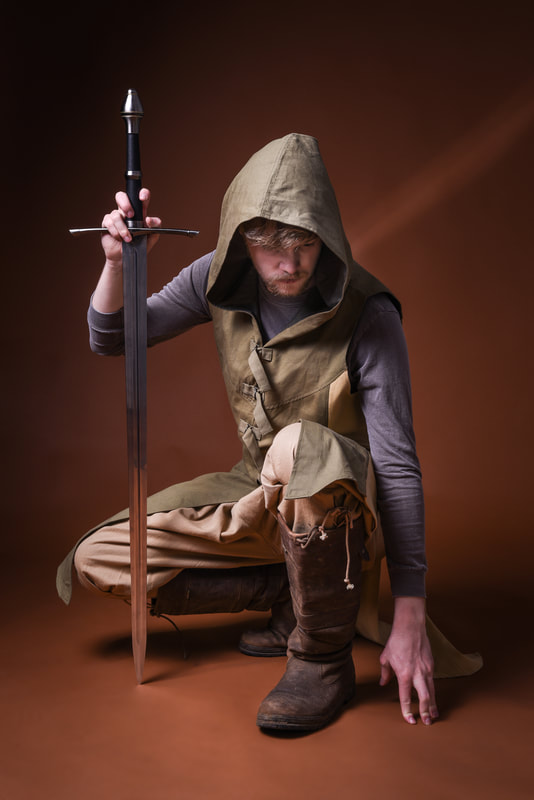
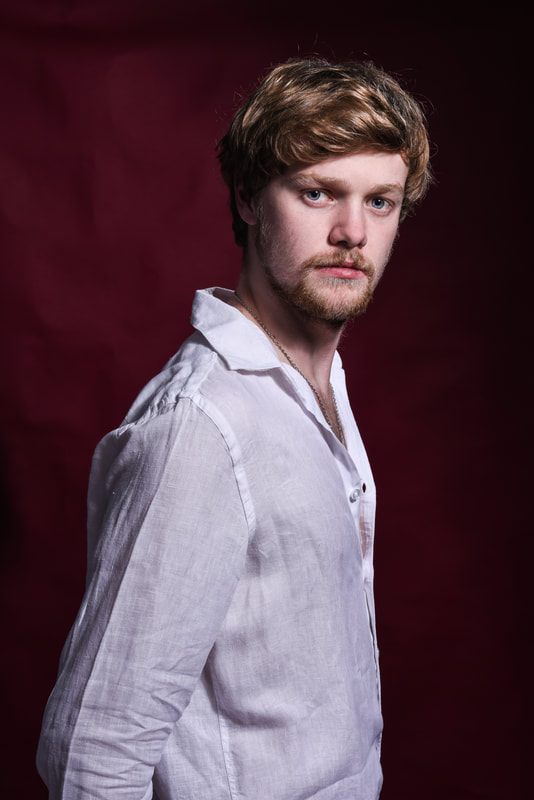
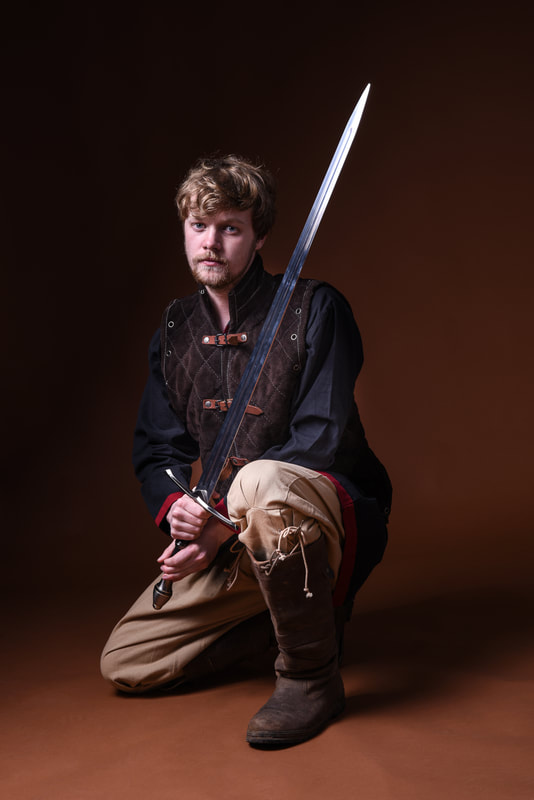
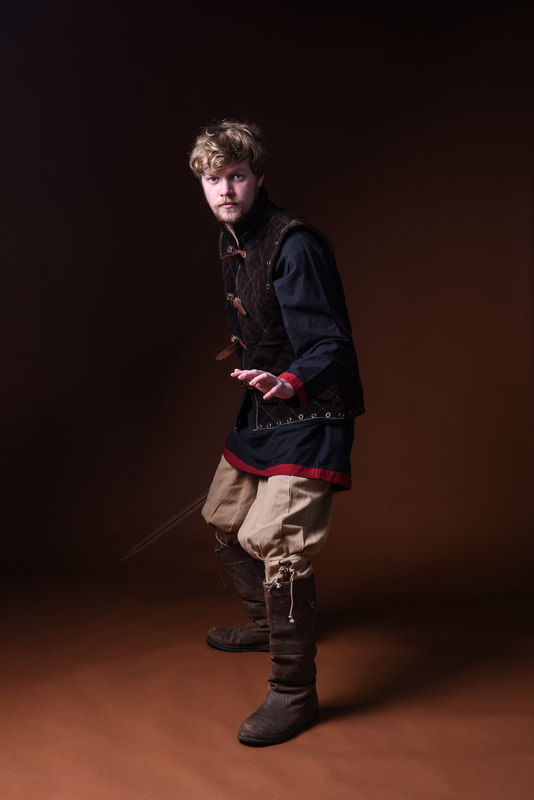
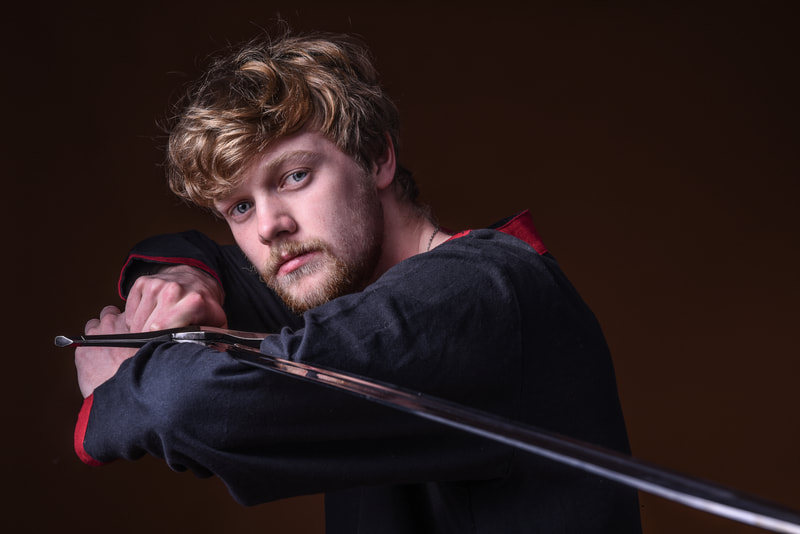
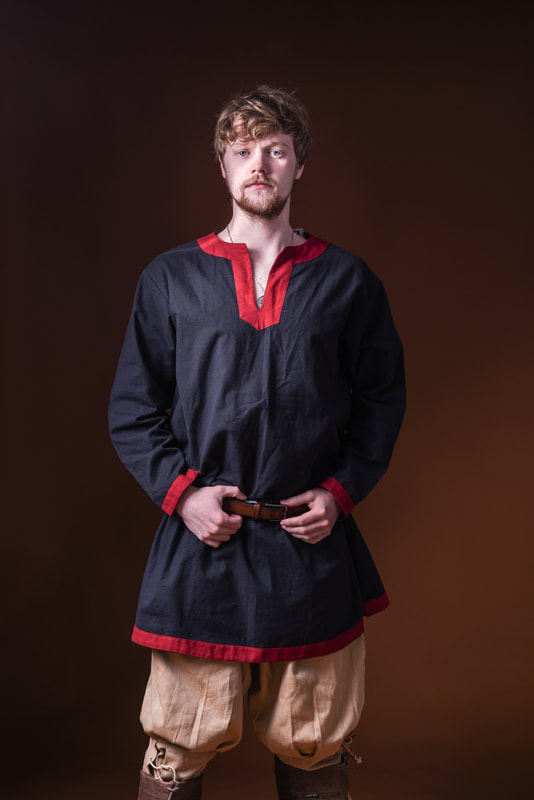
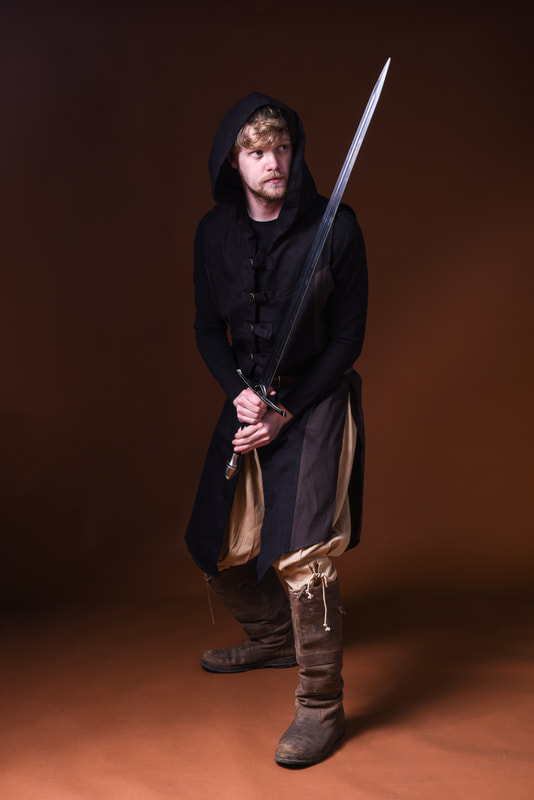
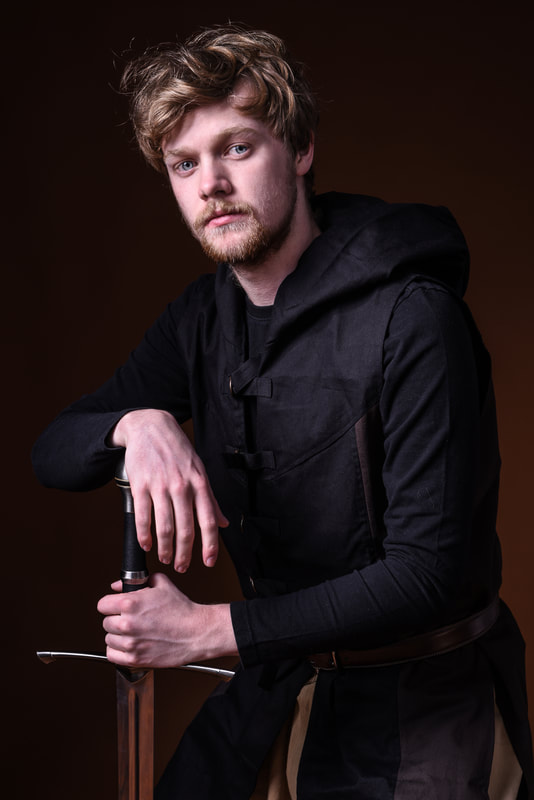
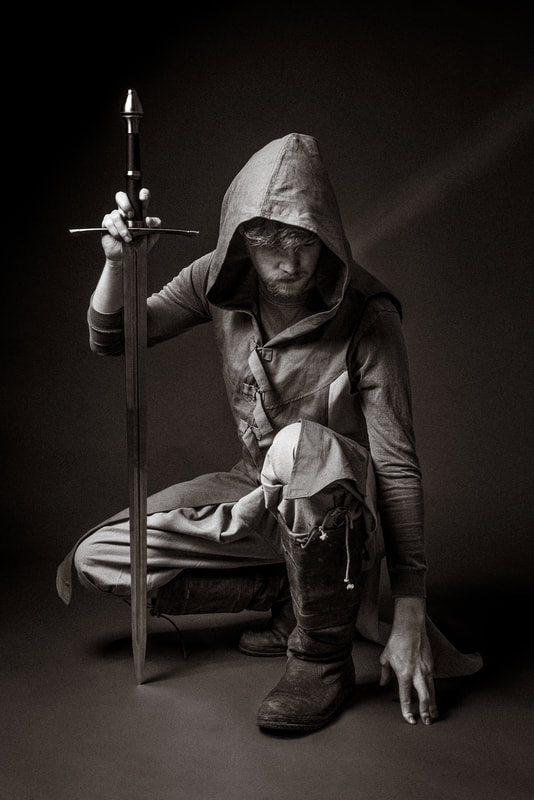
Last month we had actor and model Rafe in the studio with some Larping outfits from Gideon Lawrence who runs theoldwyvern.com. We got a really good range of shots with a variety of angles, light set ups and background colours. We had two students in attendance who also got a great range of images whilst they learned about where to position studio lights, what soft boxes and other modifiers to use for portraits and how to use their cameras in the studio.
At Devon Photography Training we cater for all types of digital cameras, this session had a Nikon D810 a Canon 6d mark 2 and an Olympus OMD EM 10 mark 2. We used Elinchrom lighting equipment including the D-lite 2 and D-lite 4 Flash heads with a large octobox, 150cm square soft boxes, a beauty dish and grid, a snoot as a hair light, coloured gels on a reflector dish and a reflector to help us manipulate light. Working together we all got some great images. That’s what these sessions are all about.
If you would like to come along to a studio practice day call or email me (details are top right of this window) you can also join our facebook support group to be kept up to date with future workshops, events and photo challenges. You can find that here.
Marketing Consultant, Cath Harris of Ipsa Consulting, shares her views on the importance of Professional Photography for your brand.
What does photography have to do with my business? Business owners often think that their logo *is* their brand identity when in reality it’s so much more. A brand identity is a way of visually communicating who you are, what you do, and even more nuanced things such as your price-point and audience type – all without a lot of text. Professional photography is a really good way to showcasing these things in a wider context.
Consumers here in the UK are extremely design savvy – to me, it’s a hallmark of Britishness. For centuries we’ve been saturated with great examples of design from world-class fashion houses, luxury motor vehicles and even more practical examples like the London Underground’s iconic map or G-Plan furniture.
Why not just use stock images? In order for a business to communicate their value to a UK audience, photography can be a really useful tool in your tool kit. Compared to cheap, generic stock imagery, bespoke professional photography is uniquely yours – it is created to contain the very essence of your brand identity, from idea, to execution through to final edits.
Stock imagery has its place, however. For start-ups and those finding their feet it can be invaluable. But if you can afford professional photography, do invest!
Do I need a professional headshot? The sort answer is yes. When you work with a photographer like Gemma, she’ll set the lighting and angle right to make you look your absolute best! She’ll also take quite a few images of you which means you can choose the right image for the purpose. Plus, Gemma is a whizz at editing images which means she’ll be able to smooth out that zit without a fuss!
Plus, if you work with a team, a professional photographer can ensure the team are represented in sync with your brand and with one another.
**Top tip**: if you worry about looking weird in photographs then remember this: you’re used to seeing yourself in a mirror and when you have your photo taken, you’re seeing yourself from the other way round! This is how other people see you.
Why should I use a professional for my product shots? Your commercial images through your website or social media are (metaphorically speaking) your shop window. A professional photographer will ensure each image is clear, in focus, taken in the best light, using the right background or props, at the best angle and using the right depth of field.
There’s nothing worse than a gorgeous product that is represented badly through basic photo skills. Whilst it costs more to outsource commercial product photography than doing it yourself, you’ll definitely notice the true value in your return on investment.
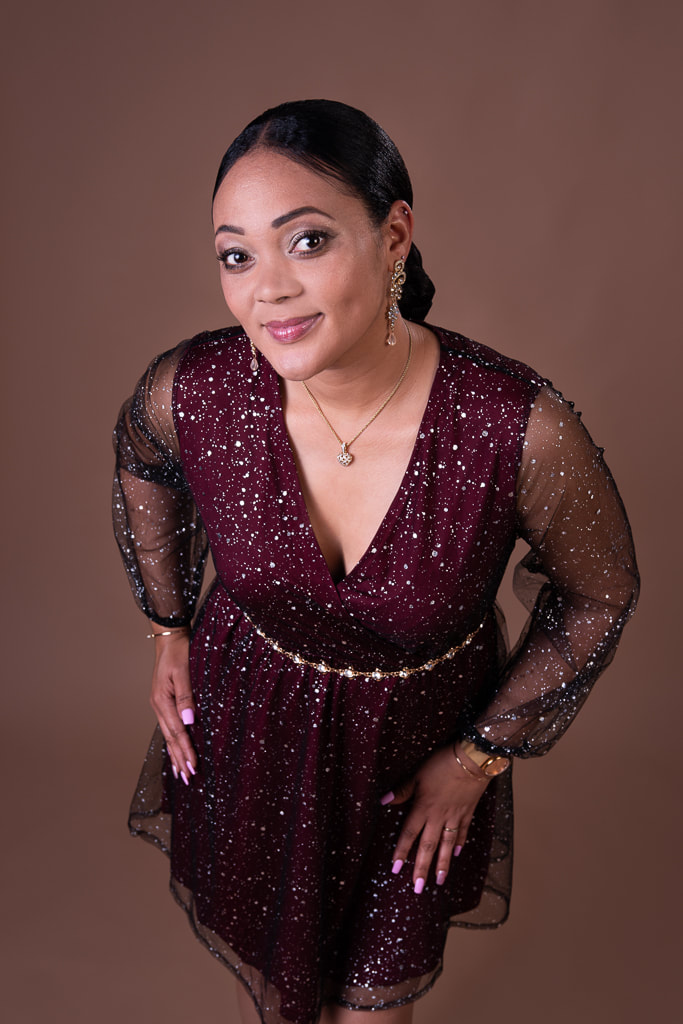
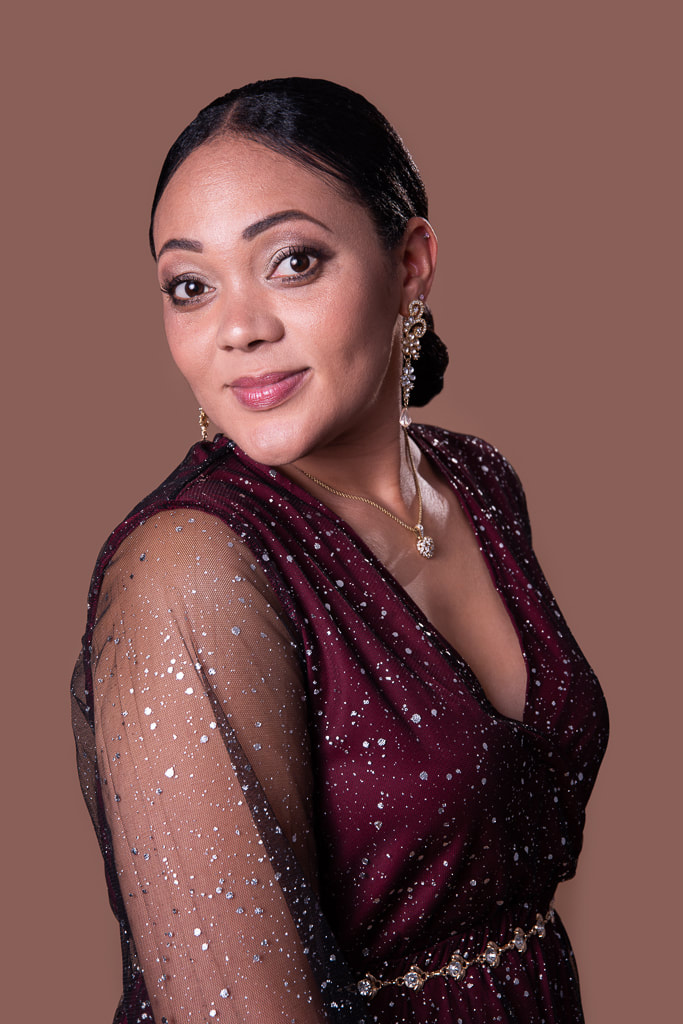
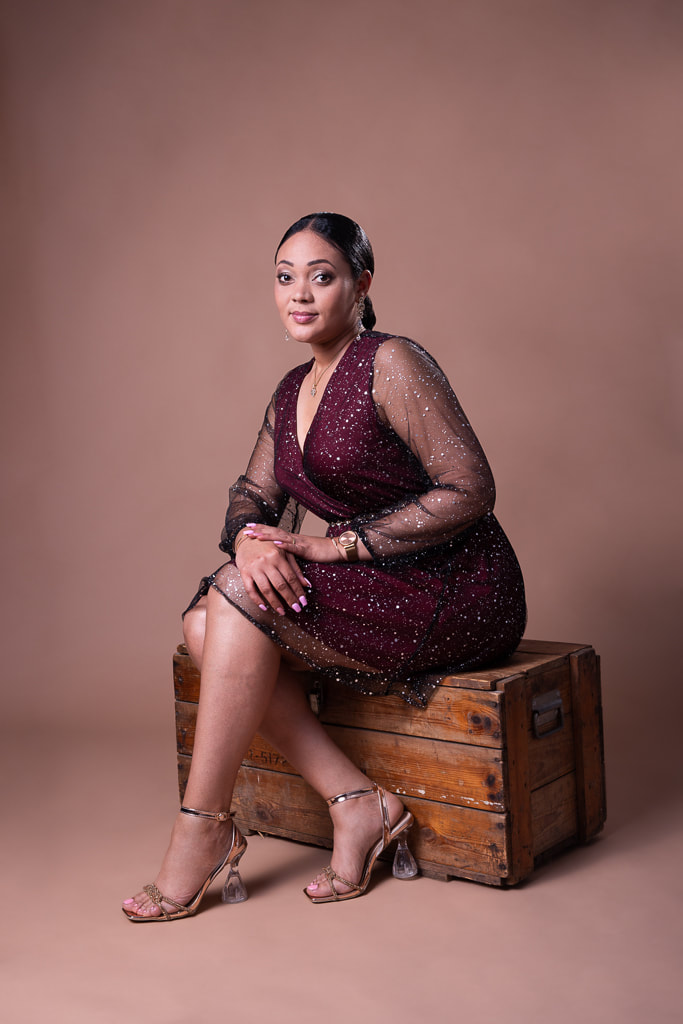
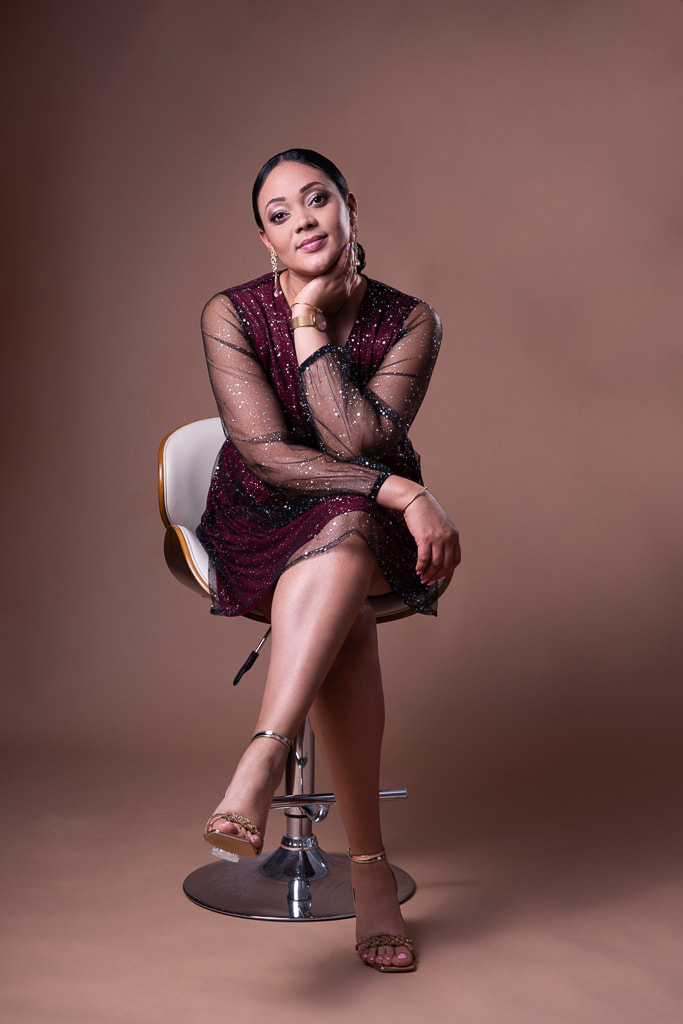
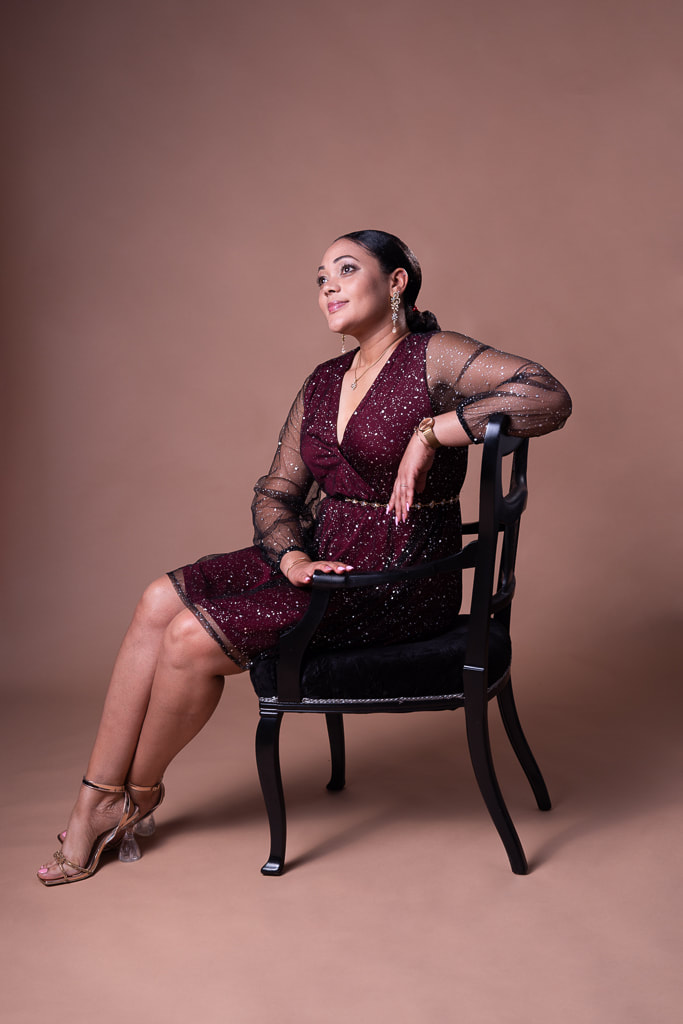
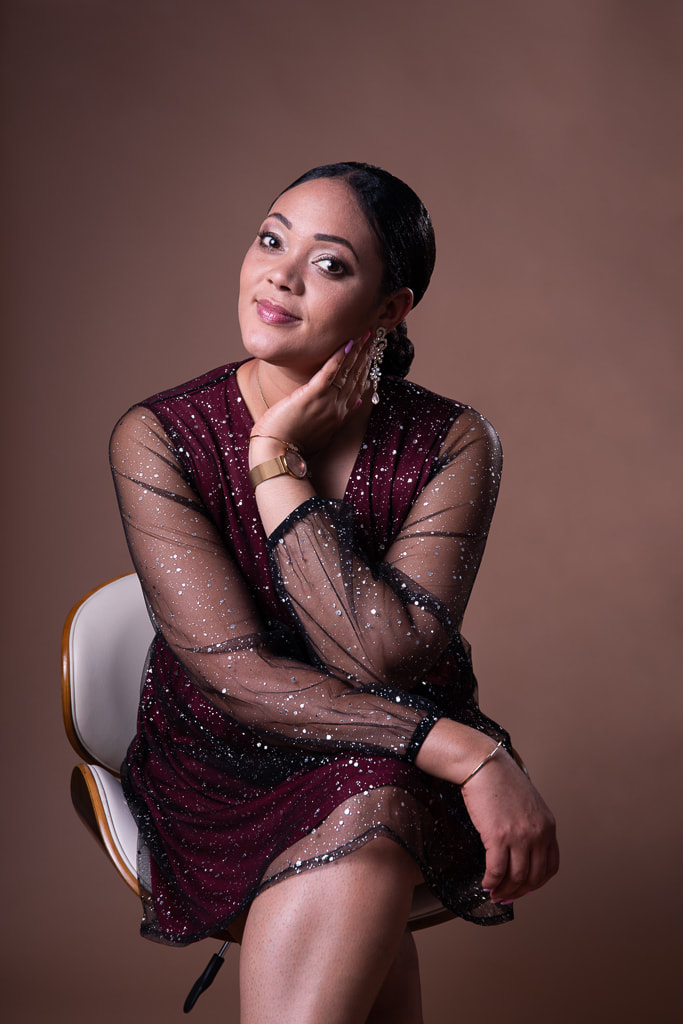
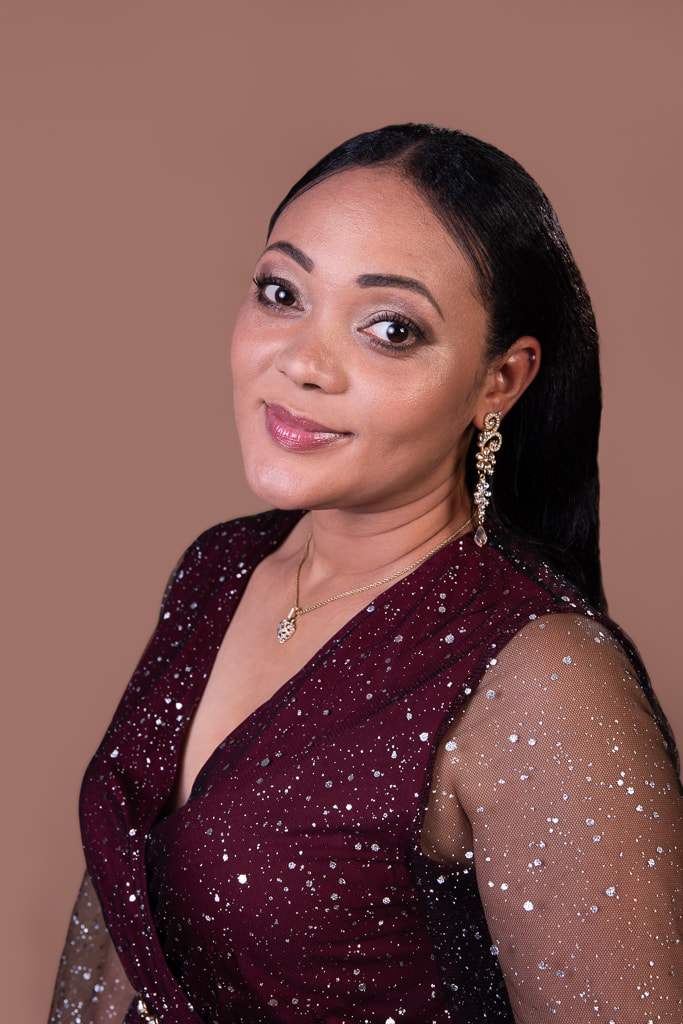
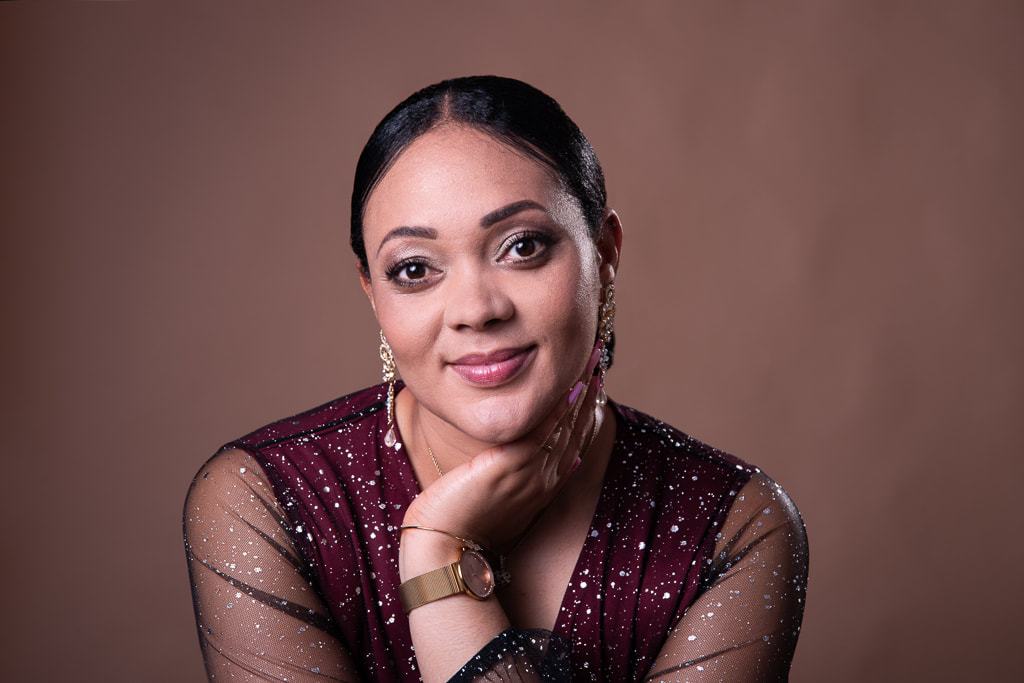
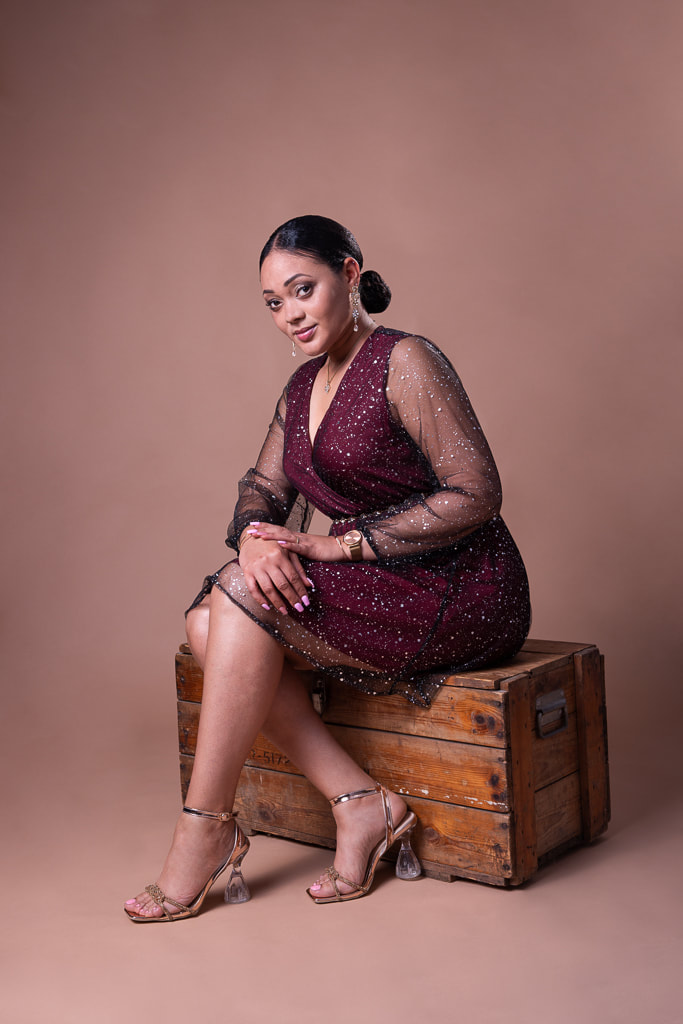
Allison treated herself to some professional photos for her 40th birthday, we had a make up artist work with us too and we styled the background to suit her outfit.
I love all the shots we got, Allison looked amazing and with some simple posing guidance from me we got these lovely photos. Click to see the full size images.
Would you like to treat yourself or a loved on to a confidence boosting photoshoot? Contact me and we will get you booked in or I’ll send you out a gift voucher. Prices start from £135.
It is really important to me to be continually improving my photography too. Learning about the latest methods of post production and keeping an eye on the latest cameras released is all part of the job and allows me to pass on what I learn to my lovely students.
I have been a member of The Guild of Photographers for quite a few years now and find it a very inspiring association to be a part of. I can push myself by entering their image of the month competitions, take part in regional competitions and attend training sessions with pros in various fields of photography.
I have found it invaluable in my photography journey and would very much recommend you check them out if you are serious about improving your photography too.
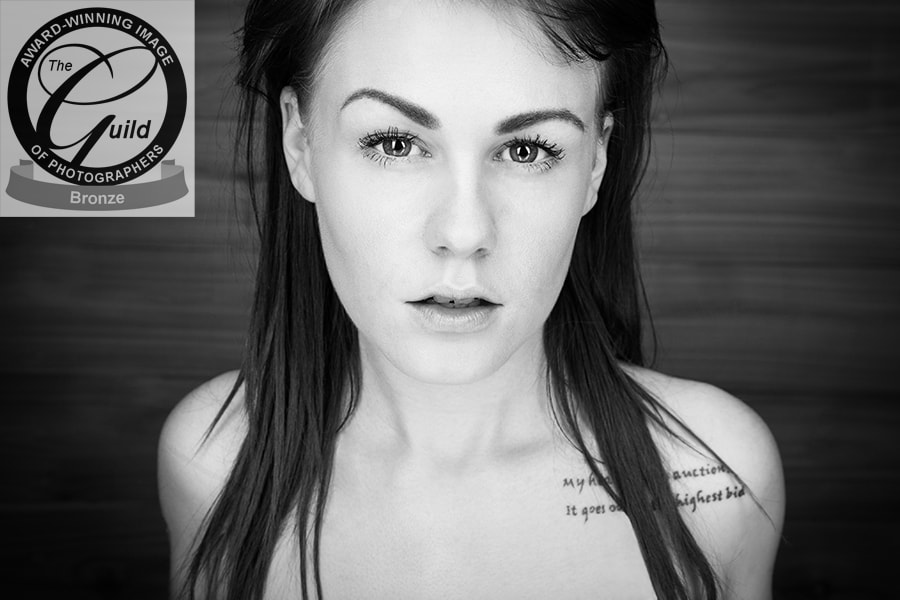
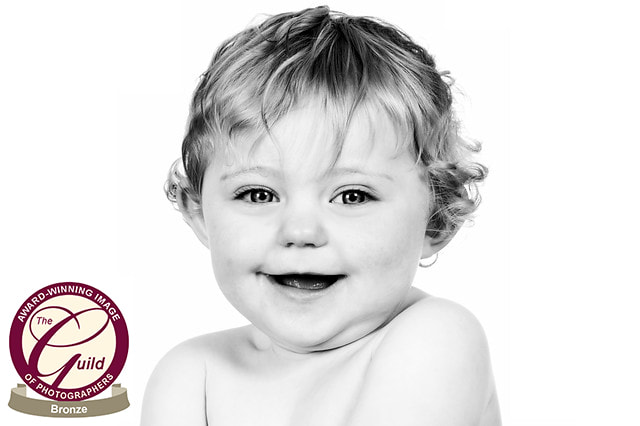
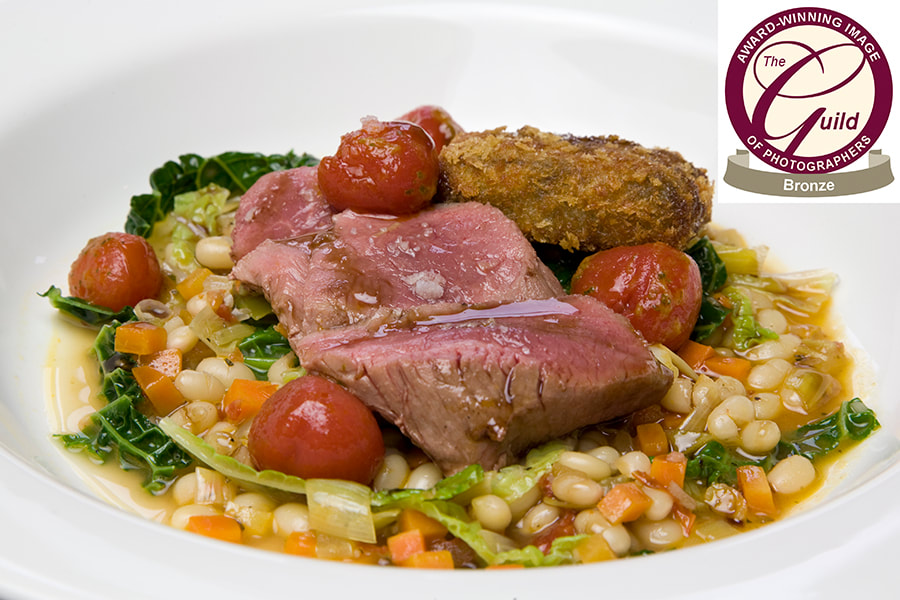
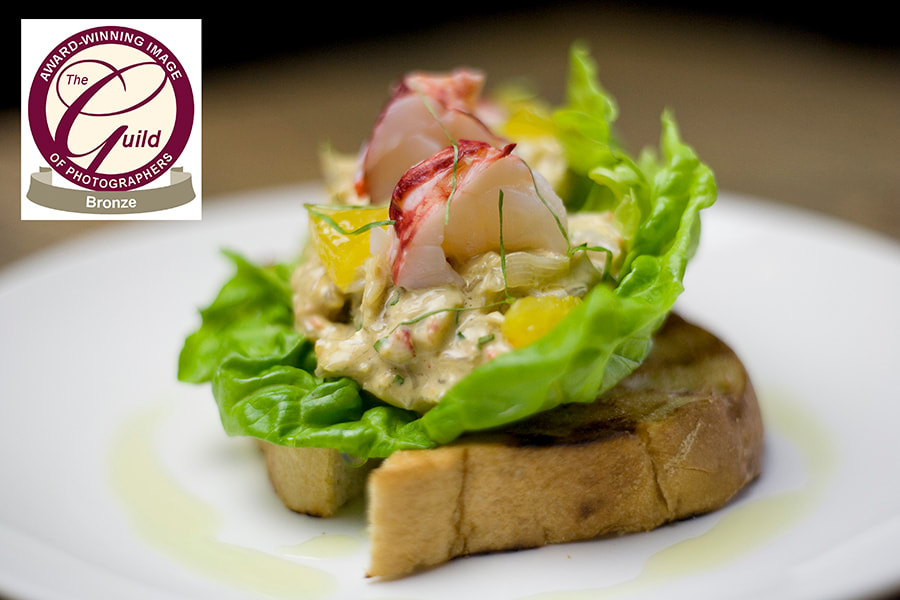
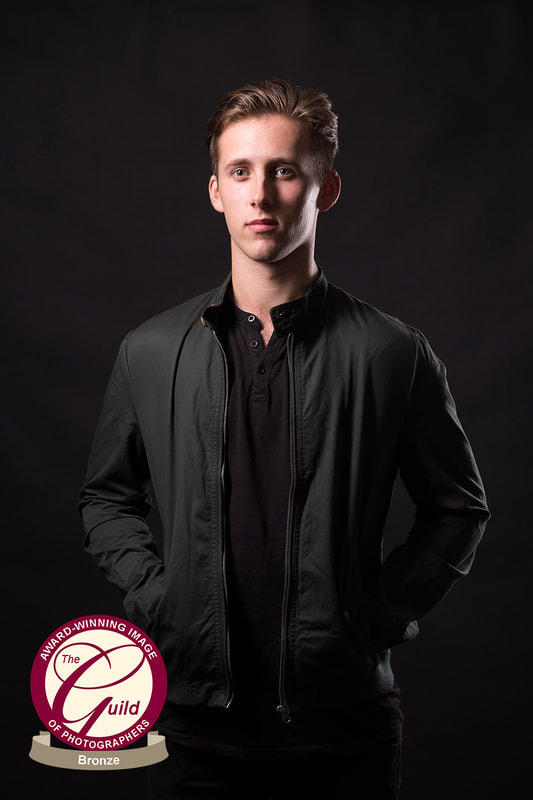
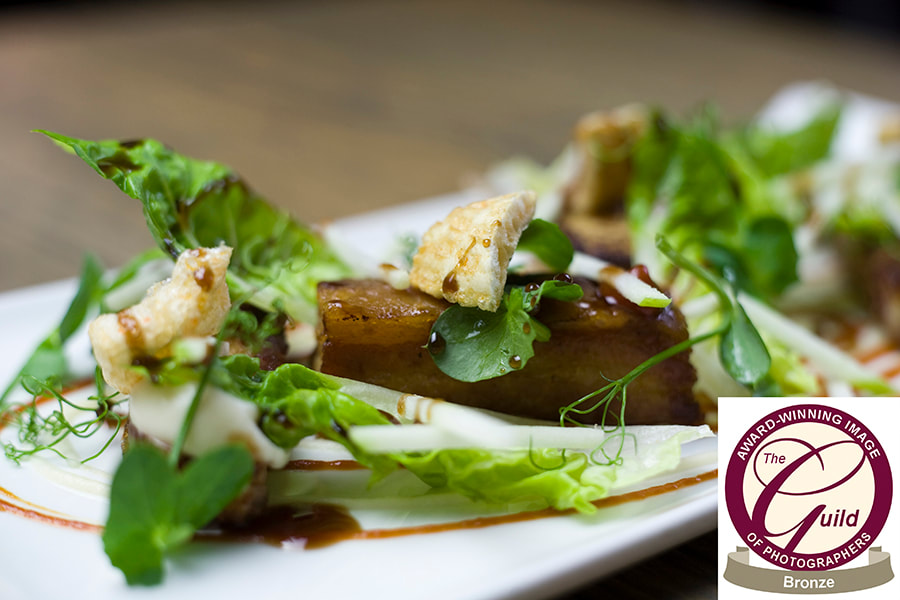
Over the years I have entered their image of the month competition and I would very much like to share some of my awarded images with you.
“Entries are assessed by very experienced Judges in accordance with national competition judging criteria and graded as follows –
A Platinum Bar .. Images of exceptional or outstanding quality (only awarded to the ultimate of images) A Gold Bar .. Images of particular distinction (very rare) A Silver Bar .. Images that are very well crafted (difficult to achieve) A Bronze Bar .. Images of a strong standard at a national competition level (something to be proud of)”
I am very pleased to have gained 30+ awards so far, including a Gold, a Silver and multiple Bronze awards, I will continue to enter the competition and strive to gain the all elusive Platinum Bar.